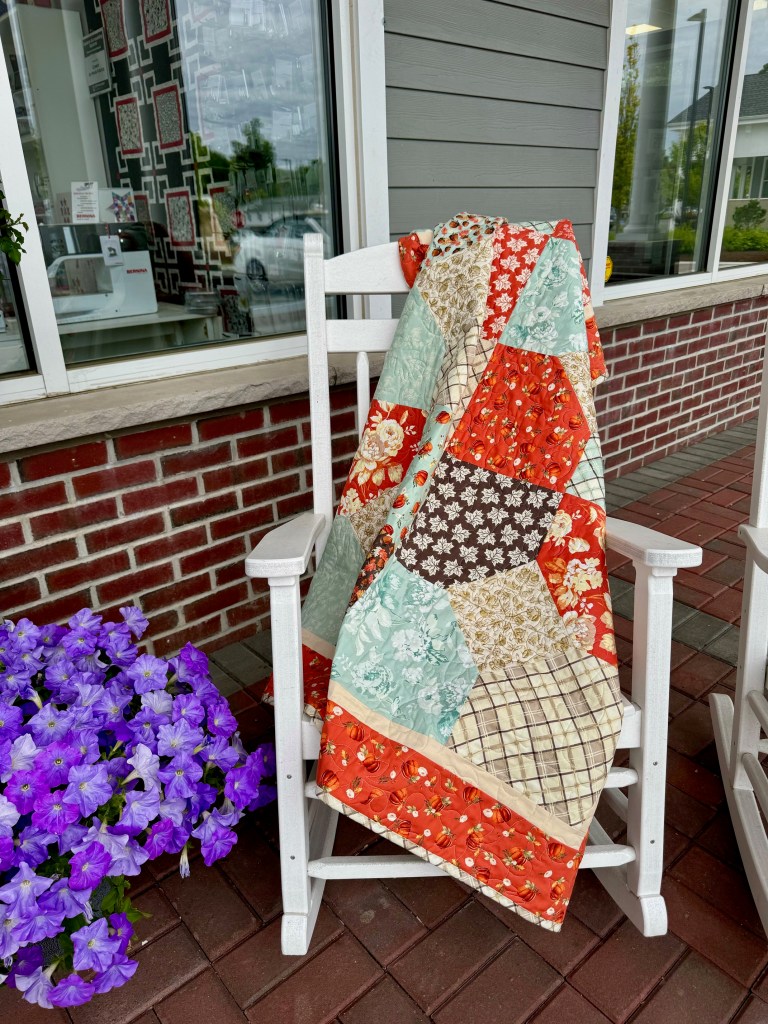
This is one of our favorite quilts to make utilizing 10″ squares, especially when we are in a hurry! It finishes to 70″ square and works with any layer cake.
We love to make this fast, easy and impactful quilt. All you need is:
- 36 – 10″ squares (or one pre-cut stack of 10″ squares”
- 3/4 yard – contrasting fabric for the corners
- 1/3 yard contrasting fabric for inner border
- 1 yard outer border fabric
- 1/2 yard binding fabric

The first thing you will want to do is select (36) 10″ squares. If using a layer cake, select those with the greatest contrast from your fabric for your corners.
Then, take your fabric for the corners and cut (5) strips that are 5″ wide x width of fabric. Sub-cut the strips in (36) 5″ squares.

Use the Sew and Flip Method to mark a line diagonally across your 5″ squares. Then, layer a 5″ square with the right sides together on top of a 10″ square on one corner. Then, sew along the marked lin. Trim 1/4″ away from your sewn line. Iron your corner back. See the image above.
Reserve the pieces you trim for a bonus project, below!
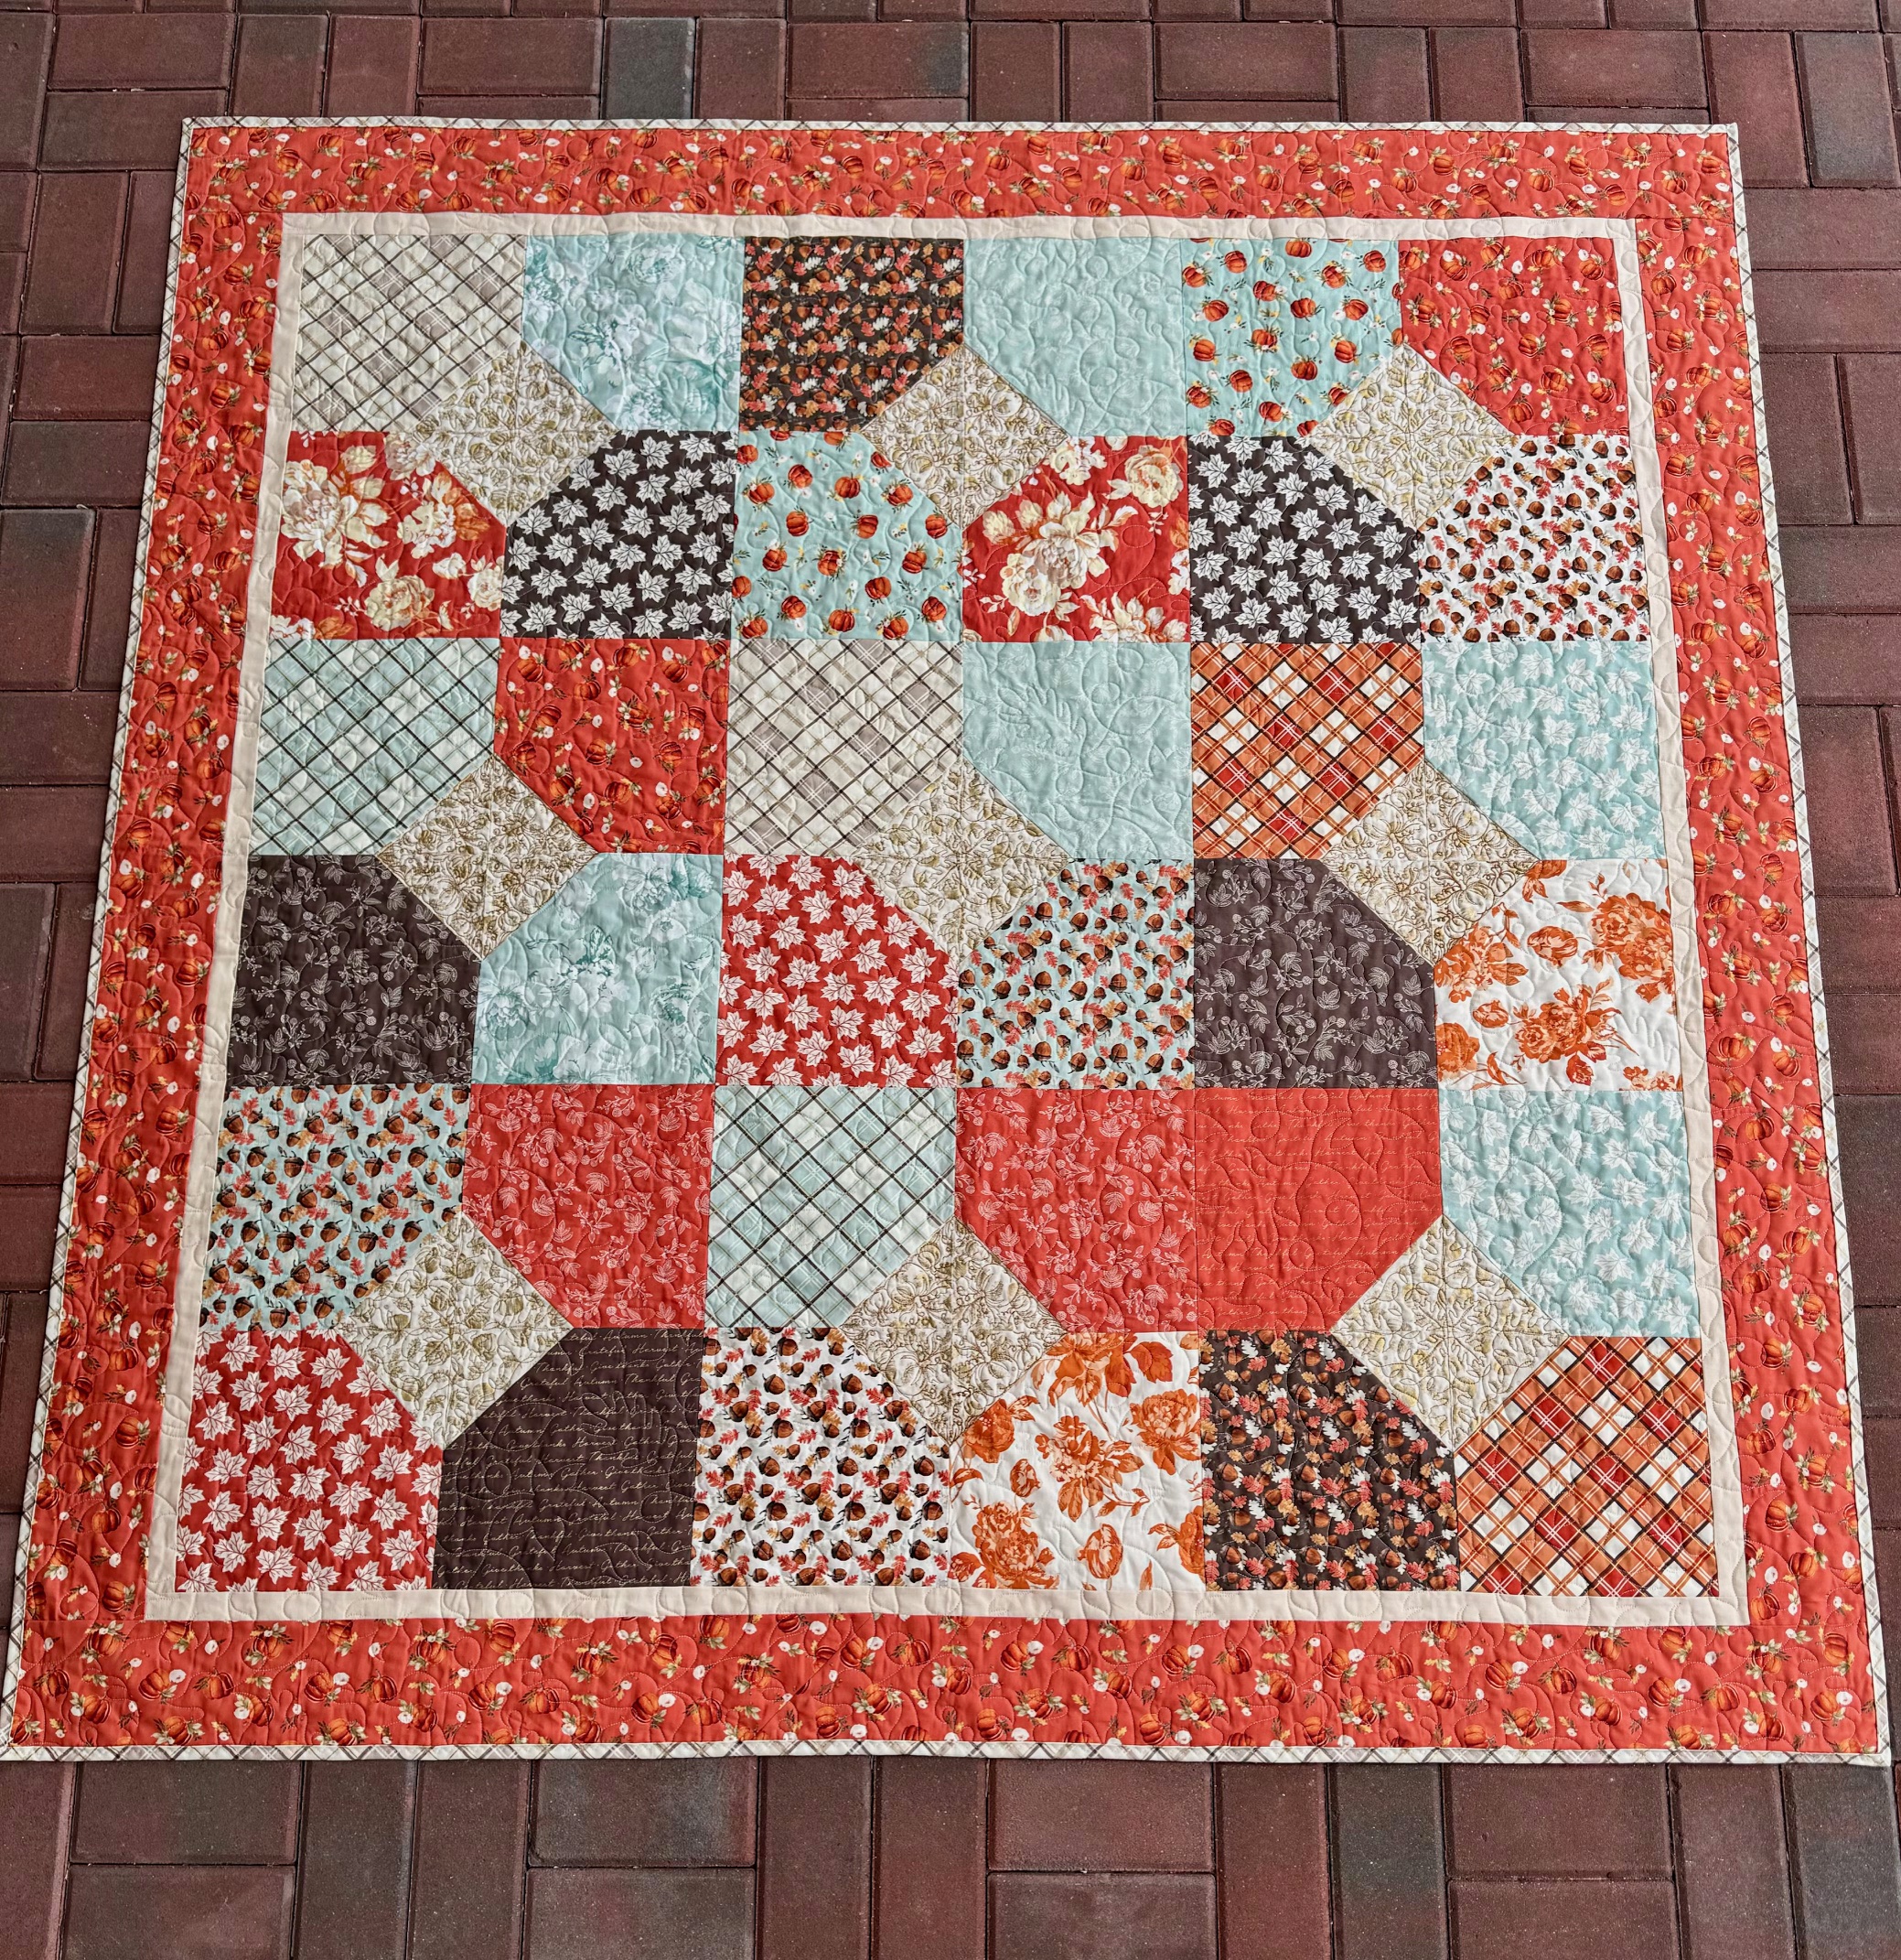
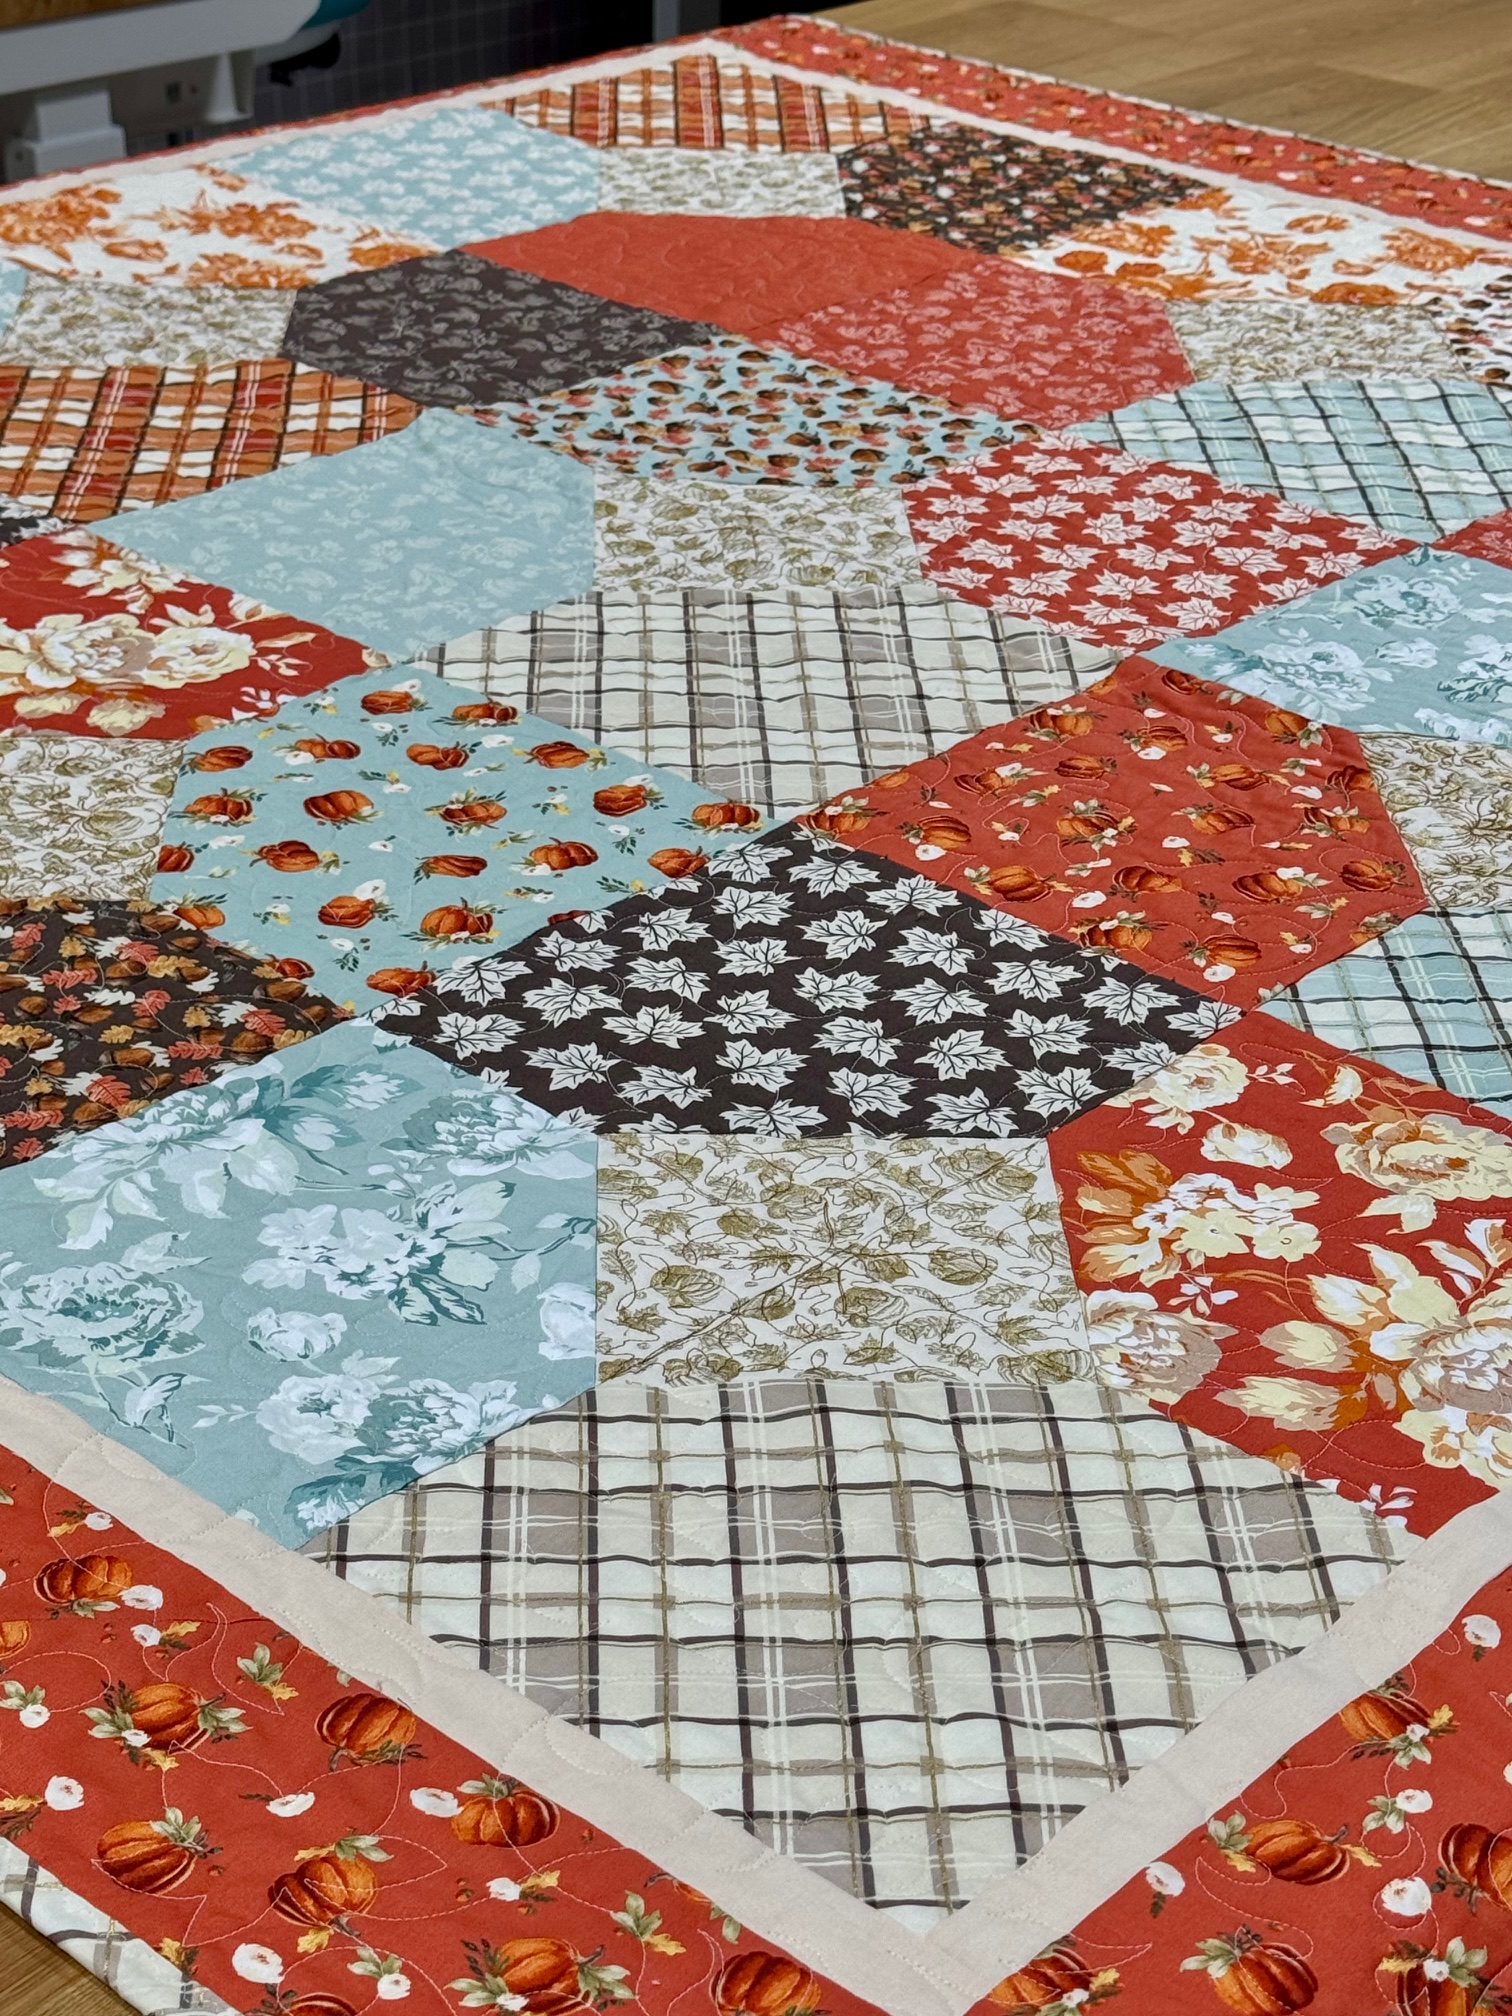
Take your (36) 10″ squares (that now have corners sewn on, and create (9) blocks comprised of (4) 10″ squares each, aligning and sewing the corners to create an on-point square in the center. Sew 3 blocks into a row; make three rows. Sew rows together.
Then, cut your inner border fabric into (6) 1.5″ strips. Piece the strips into one long strip. Measure each side of your quilt and cut 2 strips, sewing one for each side. Measure the top and bottom of your quilt, and cut 2 strips, sewing one to the top and one for the bottom.
Next, cut your outer border fabric into (8) 5″ strips. Piece the strips into one long strip. Measure each side of your quilt and cut 2 strips, sewing one for each side. Measure the top and bottom of your quilt, and cut 2 strips, sewing one to the top and one for the bottom.

Next, quilt and bind your quilt as desired. For ours, we did an autumnal edge to edge design, but cropped our center squares and then quilted them with either a pumpkin or leaf design. It was fast, easy and super cute.
But, wait, there’s more!
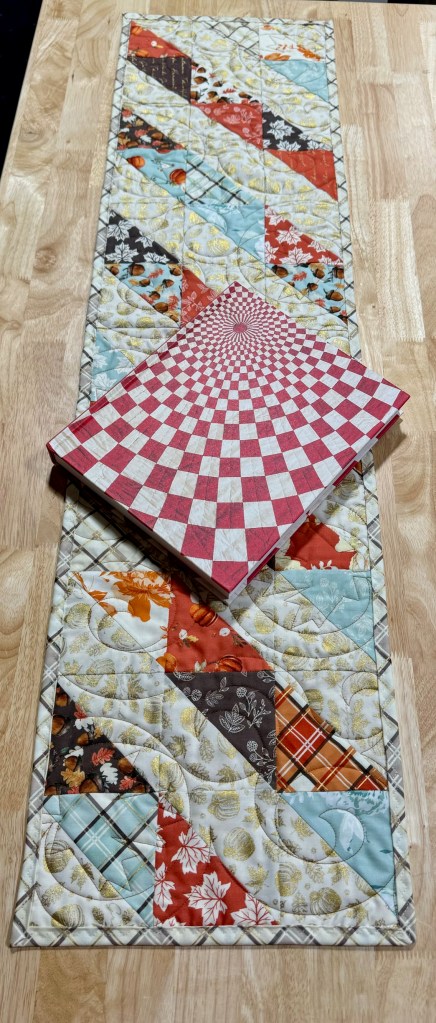
After Katy pieced the top she saved the corners that she cut off when using the Sew and Flip Method.
She finished the top and then lined up the scrap triangles and sewed them across the long side. She didn’t trim them, or square them, or do anything but stitch them, and then fold them open.
Next she created a 9 square long by 3 square high layout, aligning the corner fabric into strips. Other than backing and binding, this table topper was completely made with scraps from her throw quilt!
This quilt goes together super fast. Katy pieced it faster than I quilted it to be honest. It is also easy to make smaller or larger, and makes a great gift.
Hope you have enjoyed this free pattern that works with any layer cake. If you want to make this one, we have kits available (and they are on sale) to make the quilt as shown! We also have the Shades of Autumn Layer Cakes that you can add your own corner and border fabrics to.
Enjoy!