

Katy helped customers make gift tags as a fun make-and-take project at our Christmas in July celebration in the store. Several people asked for instructions so we are sharing them here. Katy’s samples show holiday fabrics but you can make them with any theme to further personalize them for the person whose gift they will be adorning.
Supplies Needed, per gift tag:
- (1) 5″ square Heat N’ Bond Ultrahold, 17in wide, by Therm-o-Web –
- (2) 6″ square (or larger) pieces of fabric (can be the same fabric or different!) This is a great project for scraps!
- Pencil for tracing the template
- Scissors
- Iron
- Cardboard or card stock to make template, if desired. Pro tip: Use the inside of a cereal box!
- String or ribbon
- Hole punch or sharp pointed scissors
- Optional: Pinking shears
- Optional: Embellishments
Instructions:
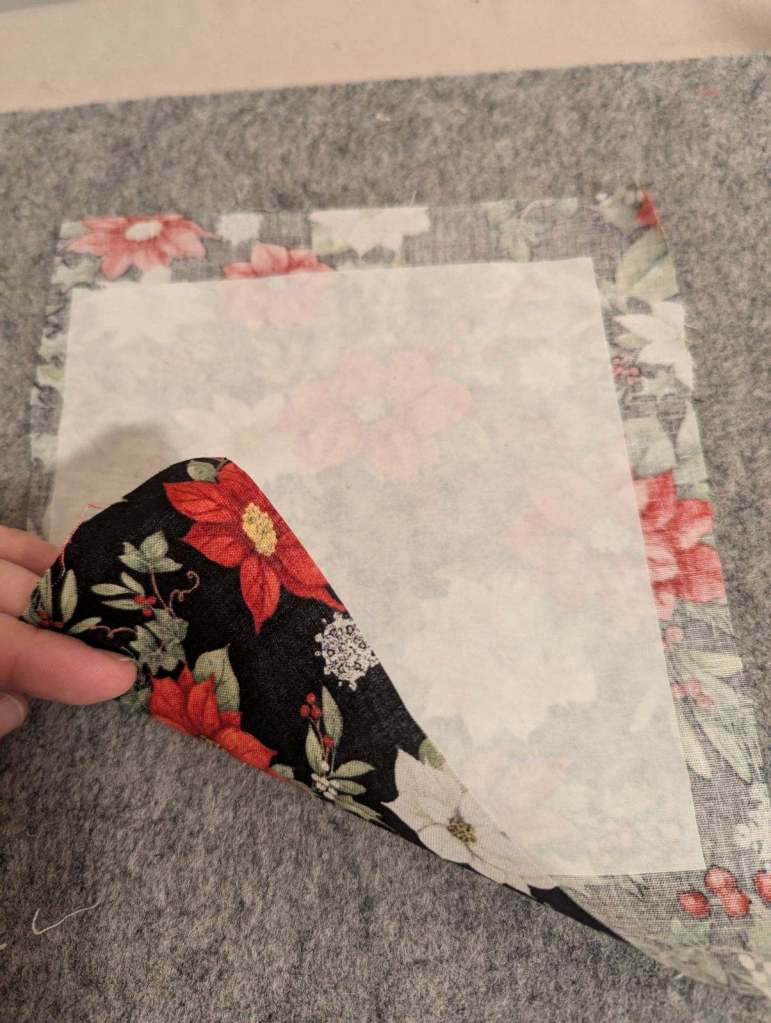
With the glue side on the wrong side of your fabric, use a hot iron to fuse the Heat N’ Bond to one piece of fabric.
Note if you would like to use your machine embroidery machine to add a name, do that before you fuse the Heat N’ Bond to the fabric.
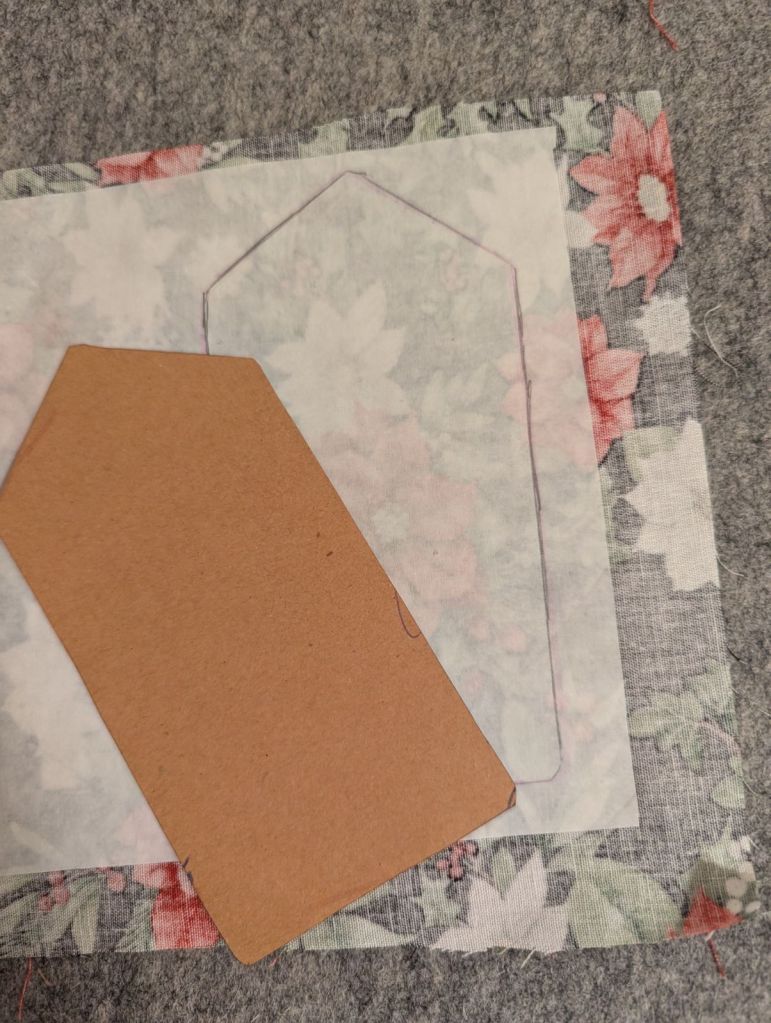
Print the template found at the bottom of this post and cut it out. If you plan to make many tags you may want to trace it onto cardboard, card stock or template plastic so the template lasts longer.
Using a pencil, trace the template on to the paper side of your fused fabric.
Cut out your tag on the traced line.
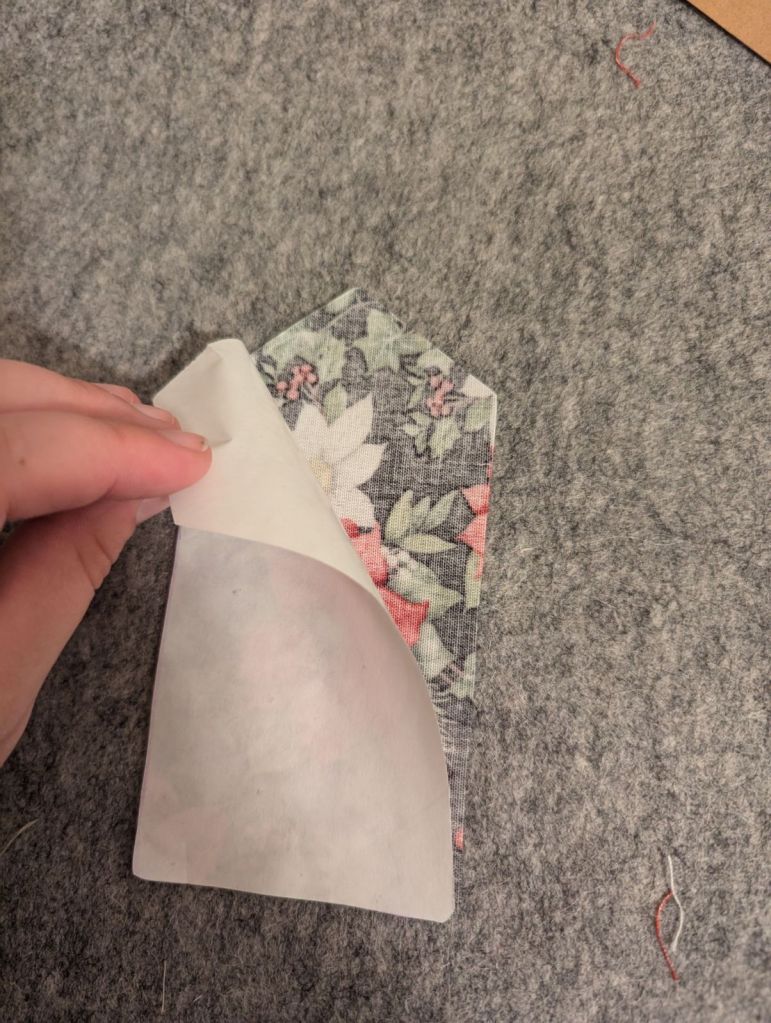
Remove the paper backing from the Heat N Bond.
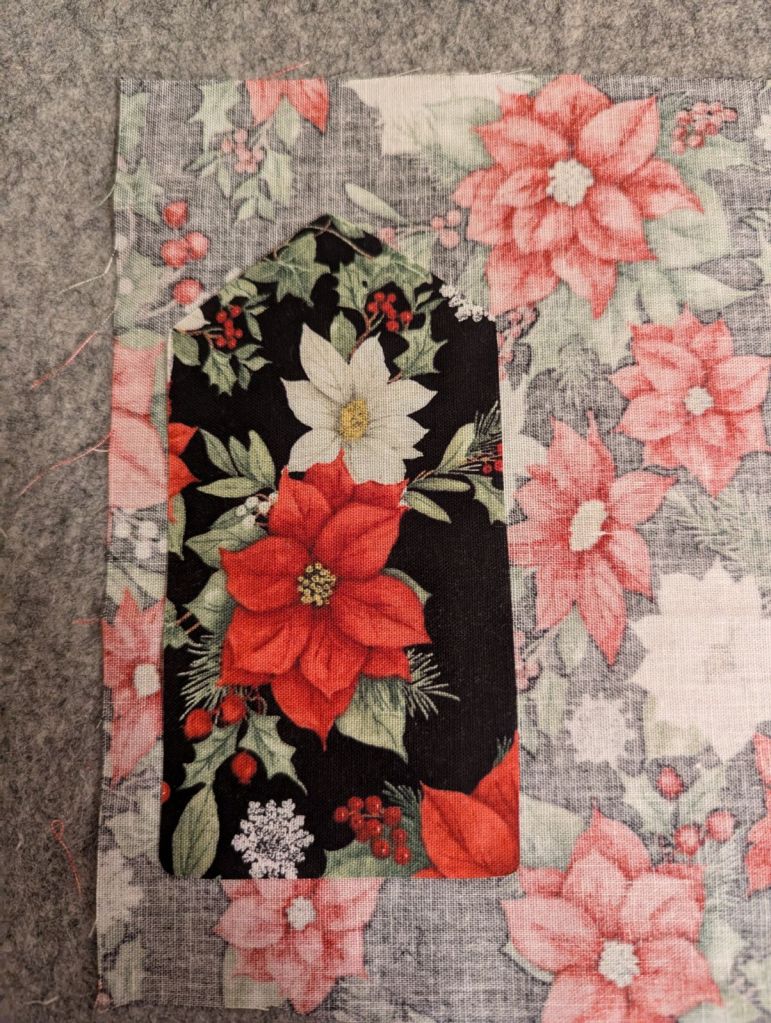
Put the exposed glue side of your tag on the wrong side of your second fabric square. Using a hot iron, fuse the tag to the second piece of fabric.
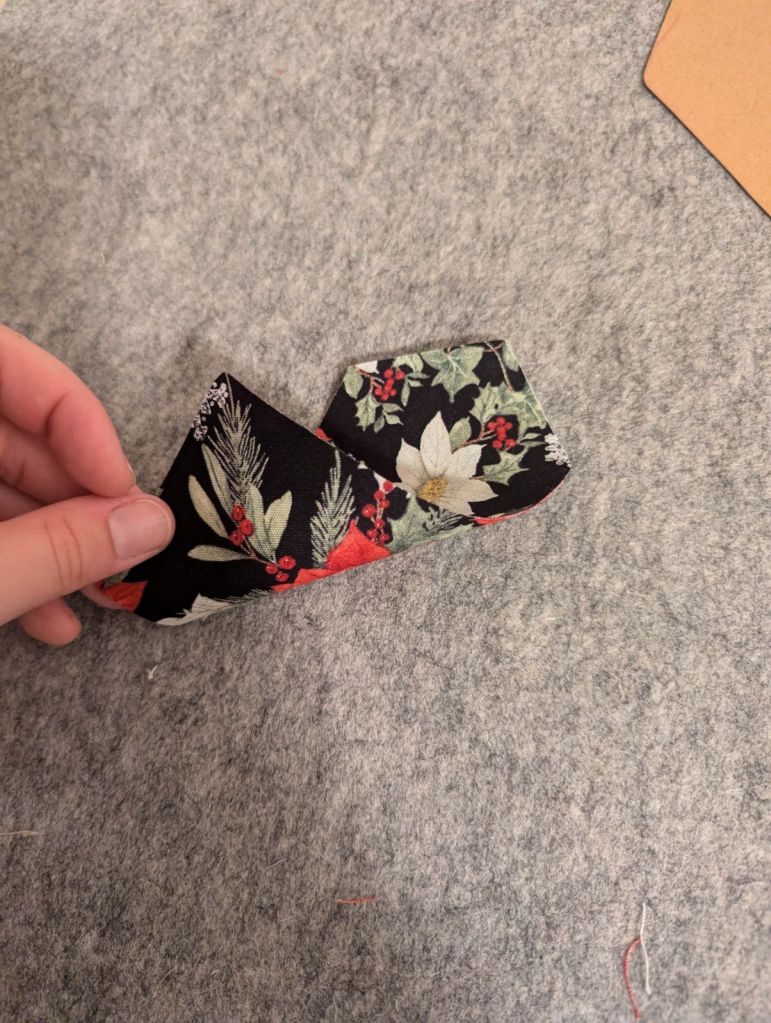
Cut around the tag to form a two-sided fabric gift tag. If you would like, you can use pinking shears to pink the edges and add a decorative element.

Use a hole punch or sharp scissors to create a hole for ribbon or string. The Perfect Punch tool from OESD makes this super simple.
Yay! You have a gift tag!
From here you can do whatever you would like to customize your tag. Use your sewing machine to add a decorative stitch around the border. Use a fabric marker in a contrasting color to add the recipient’s name. Alternately, you can fuse a rectangle on one side of the fabric to write on. Avery labels will also stick to the fabric, and can be removed later to use your gift tag over and over. Have fun!
Thanks Katy for the fun idea!

