
I love keeping precuts on hand in case you need a quick gift or just want an easy project. Not having to do a lot of cutting speeds the process, and using precuts allows you to use the whole collection. This Charm Square Table Runner makes a quick table runner and can be easily expanded to a baby quilt. The runner finishes to 21″ wide X 46″ long but if you want it bigger you can add more stores or borders.
Here is what you need to make it:
- (24) 5″ squares – medium to dark color value
- 1/2 yard light fabric for stars and inner border
- 1/2 yard medium to dark fabric for outer border
- 1/4 yard fabric for binding
- 3/4 yard backing fabric
- Crib or scrap batting
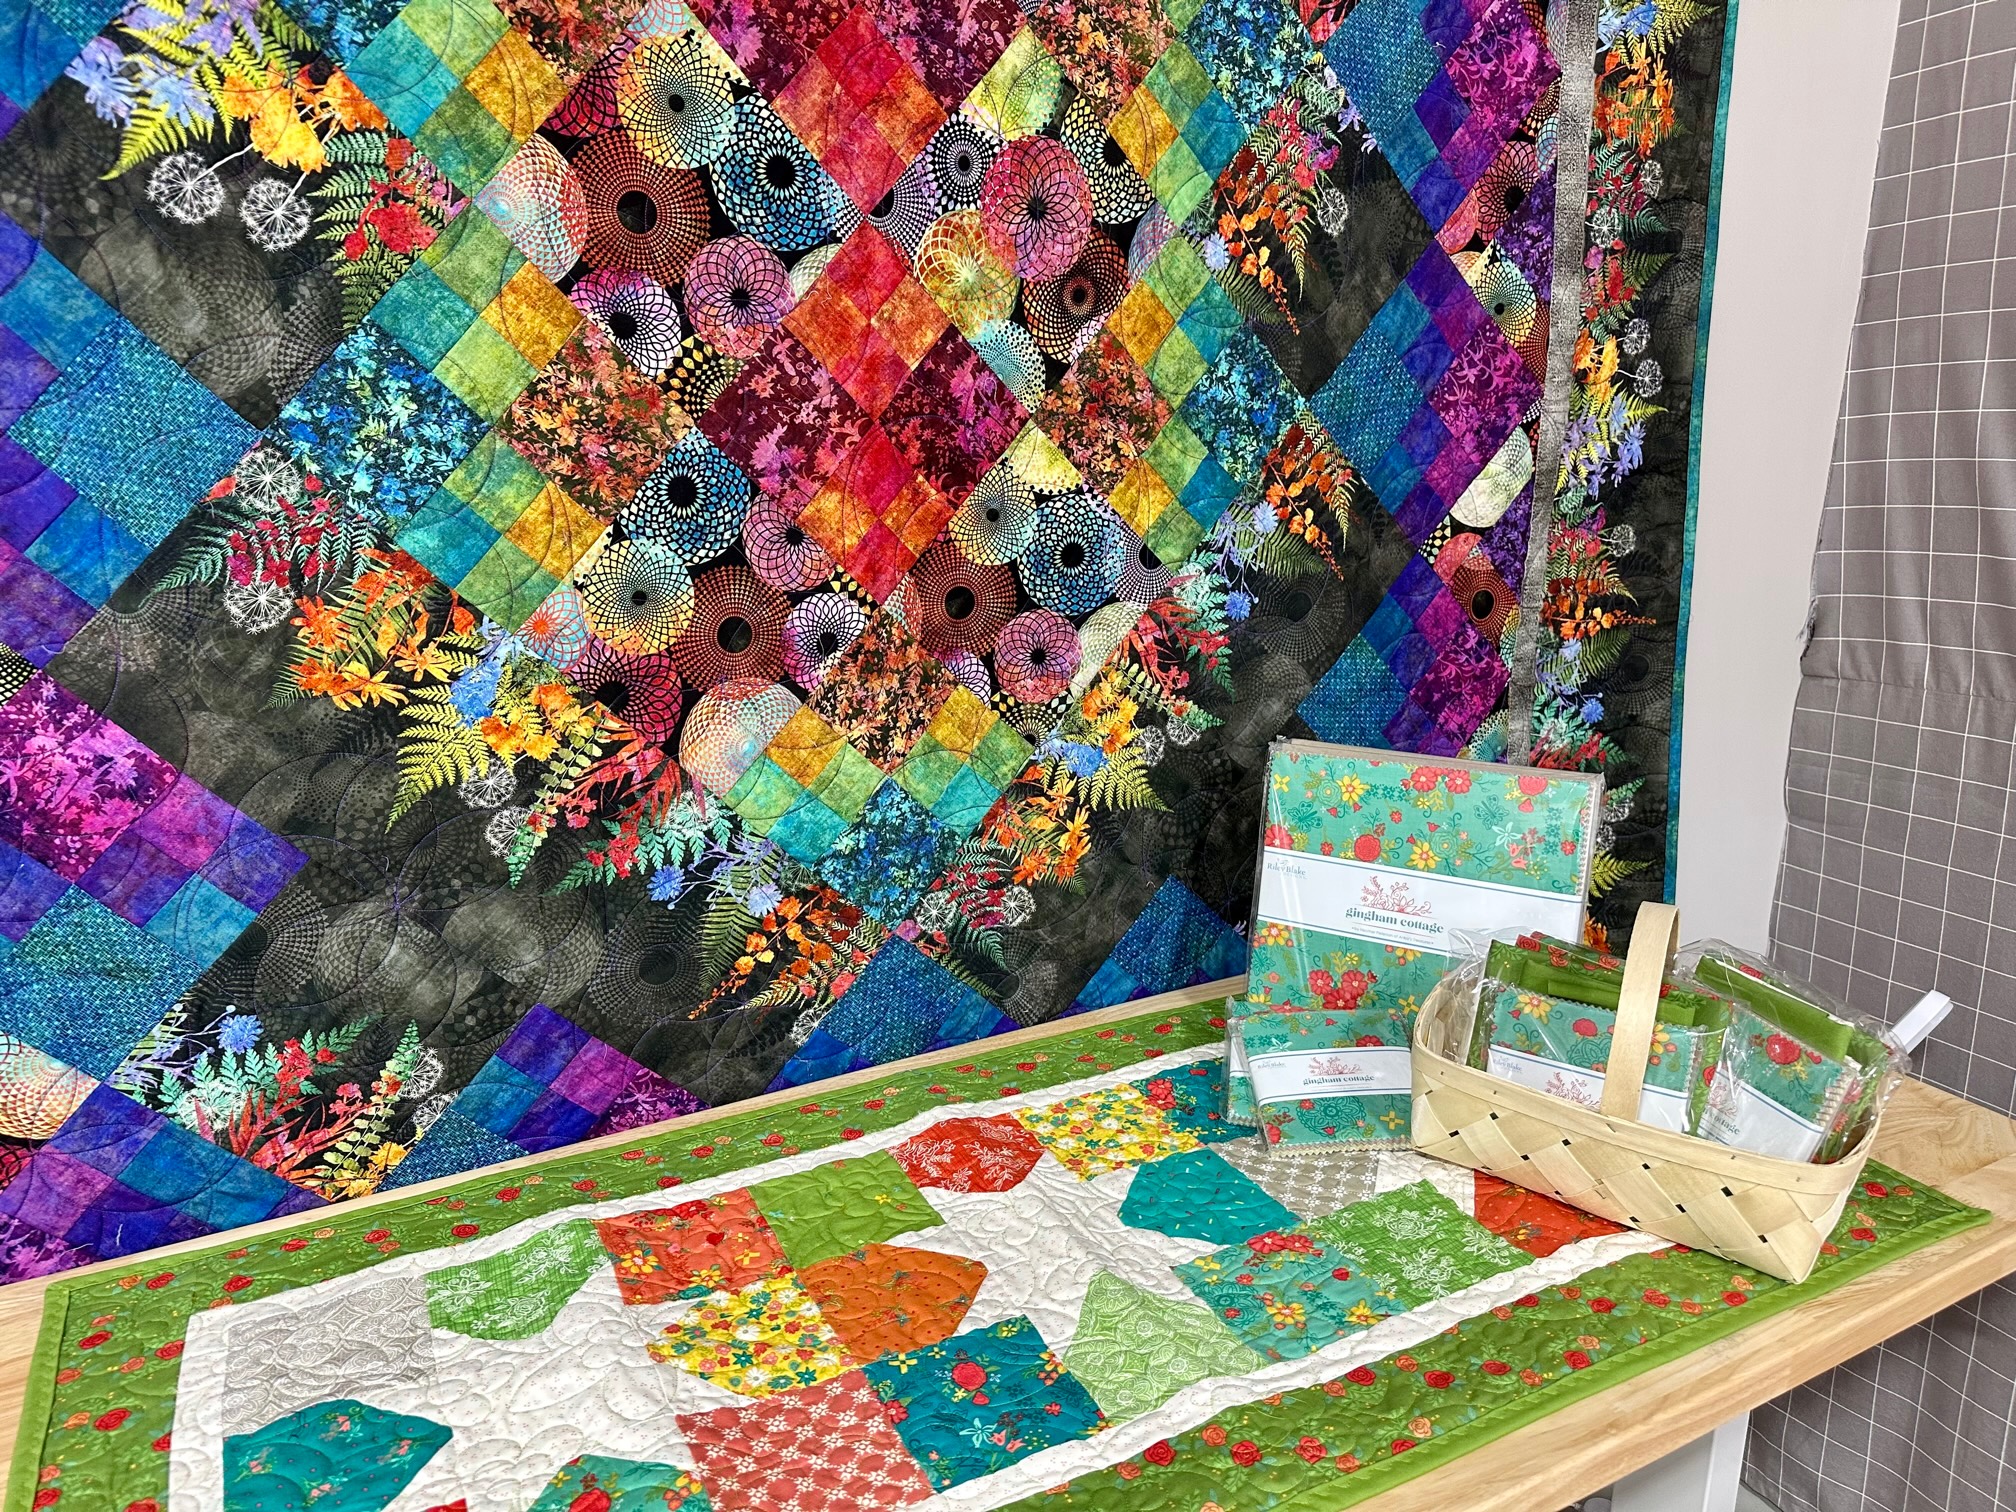
For ours, we used a Gingham Garden charm pack by Heather Peterson for Moda Fabrics with border fabric from last year’s Indigo Garden line. And we pulled from our low-volume wall for the light fabric needed for the stars and inner border.
Don’t forget your basic sewing supplies:
- Sewing machine with new needle
- Aurifil 50wt thread in a coordinating color
- Rotary cutter, mat and ruler
- Scissors, pins, iron
As always, we start with cutting:
From the light fabric for stars and inner border cut:
- (3) 1.5″ strips for inner border. Sub-cut to (2) 41″ x 1.5″ strips and (2) 14″ x 1.5″ strips.
- (1) 5″ strip. Sub-cut (3) 5″ squares for star centers. Save remaining for 3″ squares in next step.
- (1) 3″ strip. From this and leftover in step above, cut (8) 3″ squares.
From the outer border fabric cut:
- (2) 42.5″ x 3″ strips
- (2) 15.5″ x 3″ strips
From binding fabric cut:
- (3) 2.5″ strips
Now we get to the fun stuff – the sewing:
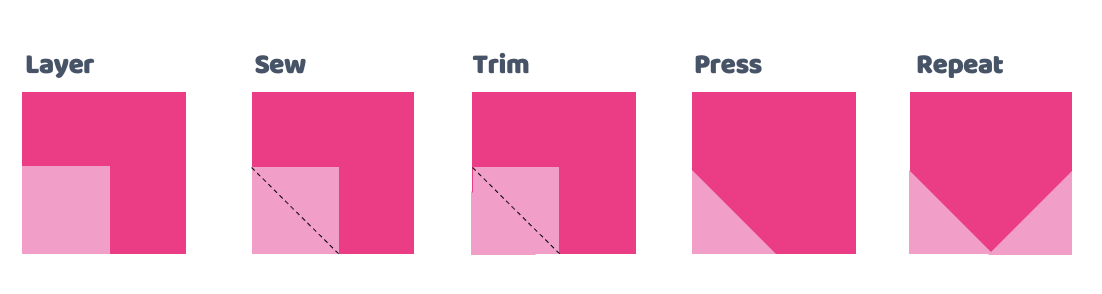
Layer a light 3″ square on top of a dark 5″ square, right sides together, aligning one corner with the other corner being on the center of the 5″ square.
Using a ruler, draw a diagonal line from two corners. Sew along the drawn line.
Trim 1/4″ inch from the sewn line on one size, discarding excess.
Open your star point unit and press.
Layer a light 3″ square on the other side of the square. Repeat the steps so you have 2 light points for your star on a dark background. Trim to 5″ if necessary. Make 12 total star point units.
Once you have made your 12 star point units, assemble 3 stars by using 4 medium or dark 5″ squares for the corners, 1 light 5″ square for the center and 4 star point units.
Assemble three stars together to form one row.
Add the 1.5″ borders to the long sides of your runner. Press.
Add the 1.5″ borders to the short sides of your runner. Press
Add the 3″ borders to the long sides of your runner. Press.
Add the 3″ borders to the short sides of your runner. Press.
Quilt and bind as desired.

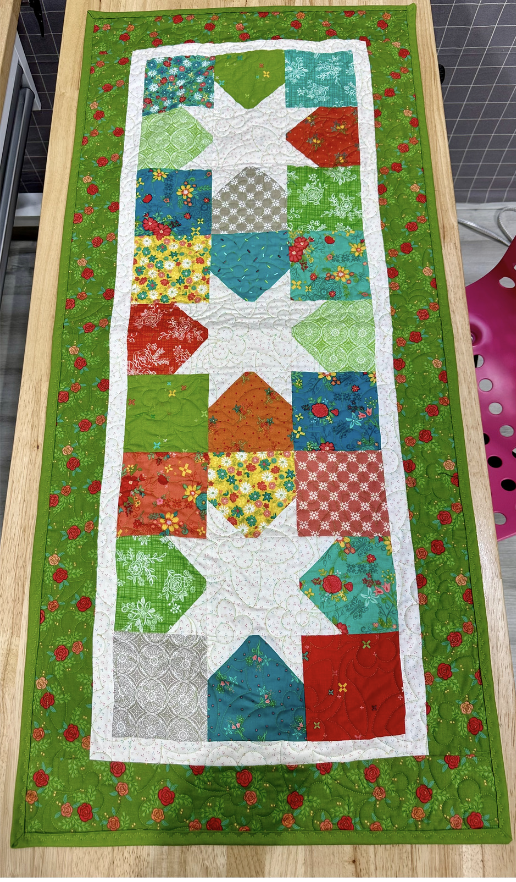
You can make and add additional stars to make your runner larger if desired. You will need to adjust the size of your borders to accommodate additional stars. Also, each star will be 14.” square before adding borders, so keep that in mind when determining how large you want to make your runner.
We have kits available in the store if you’d like to make it as shown and of course, they can be ordered online.
Please tag us on social media if you make this pattern as we’d love to see your work:
