
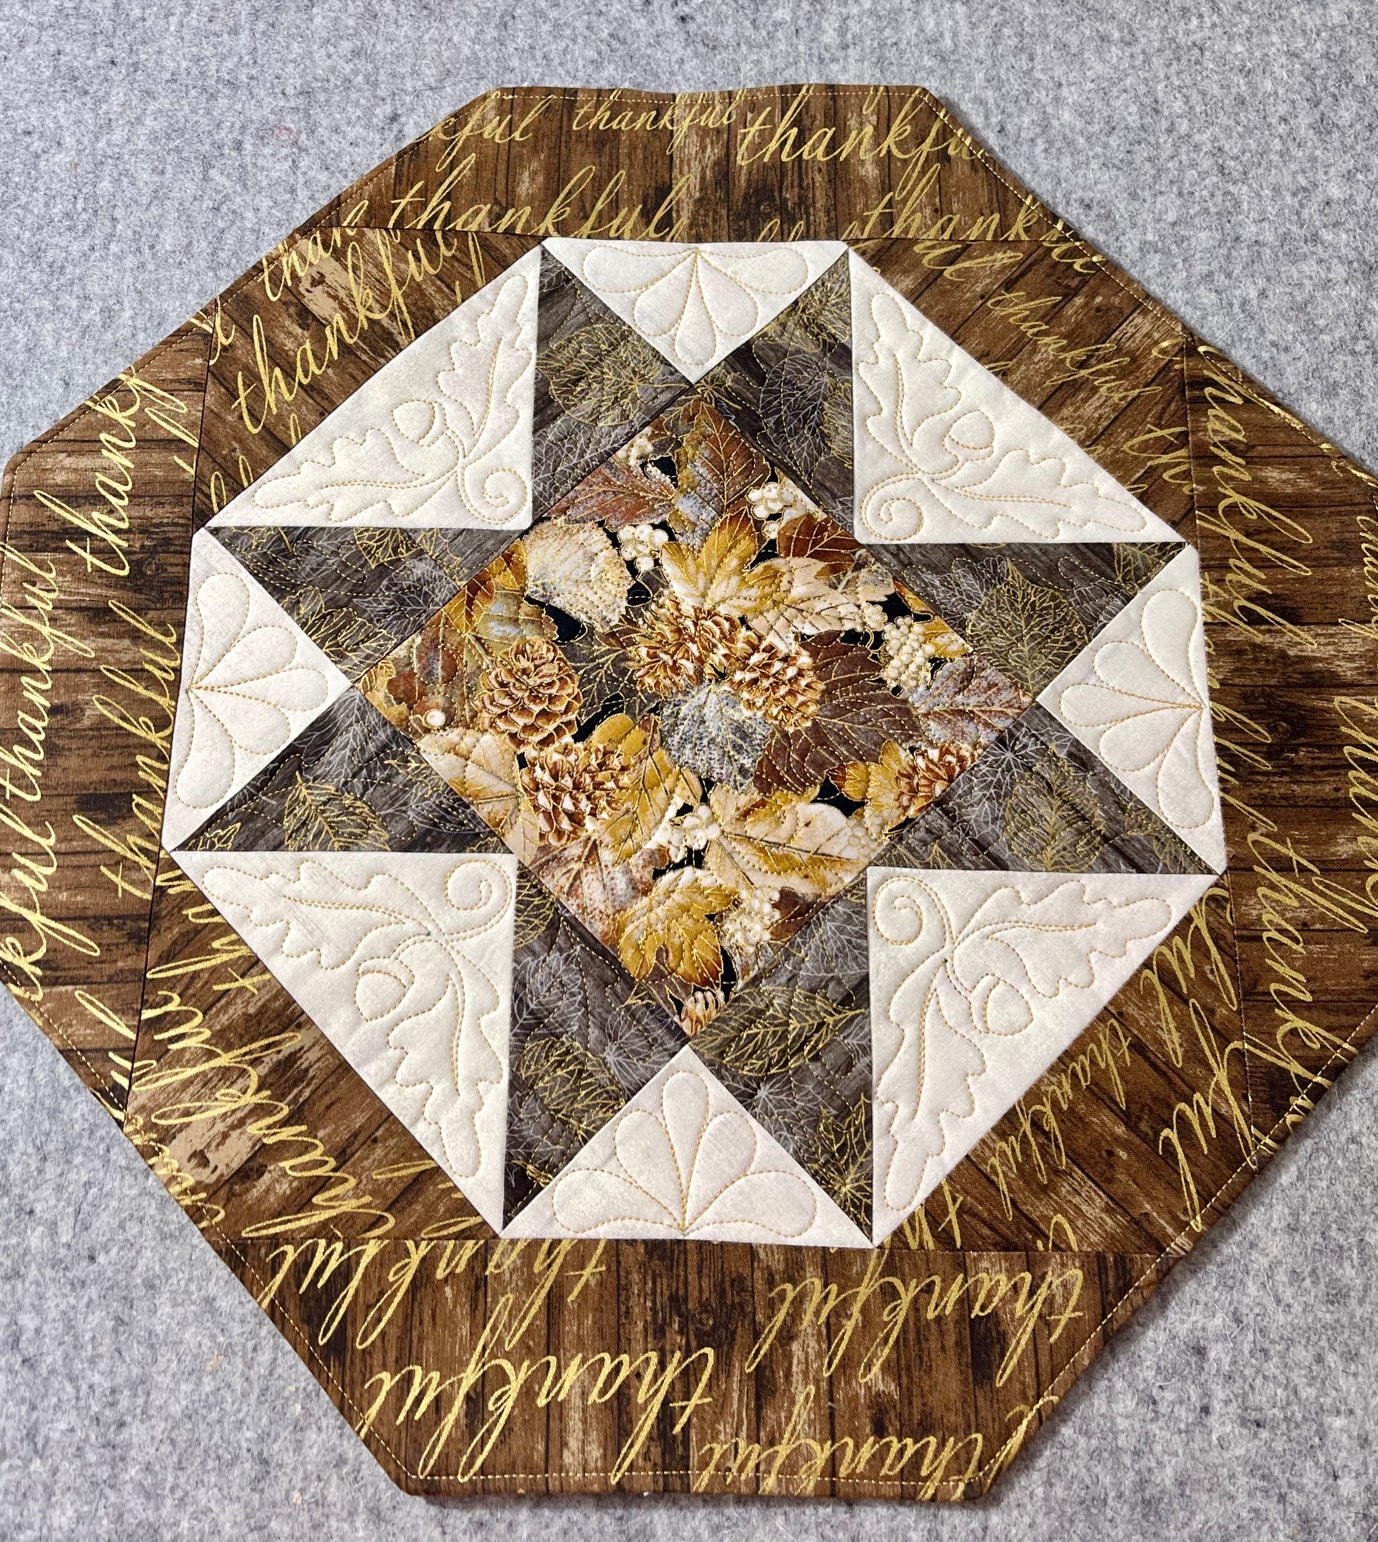
This versatile table topper is my go-to pattern when I need a quick gift – usually a hostess gift when visiting, or teachers/salon/team member gift. The one shown was made for a Thanksgiving swap in our quilt guild. These table toppers are fast and fun to make and are always appreciated, especially by those that aren’t involved in quilting or other fabric arts. I first learned how to make this in a quilt guild close to 20 years ago and have made multiple versions every holiday season since. Here is how you can make your own.
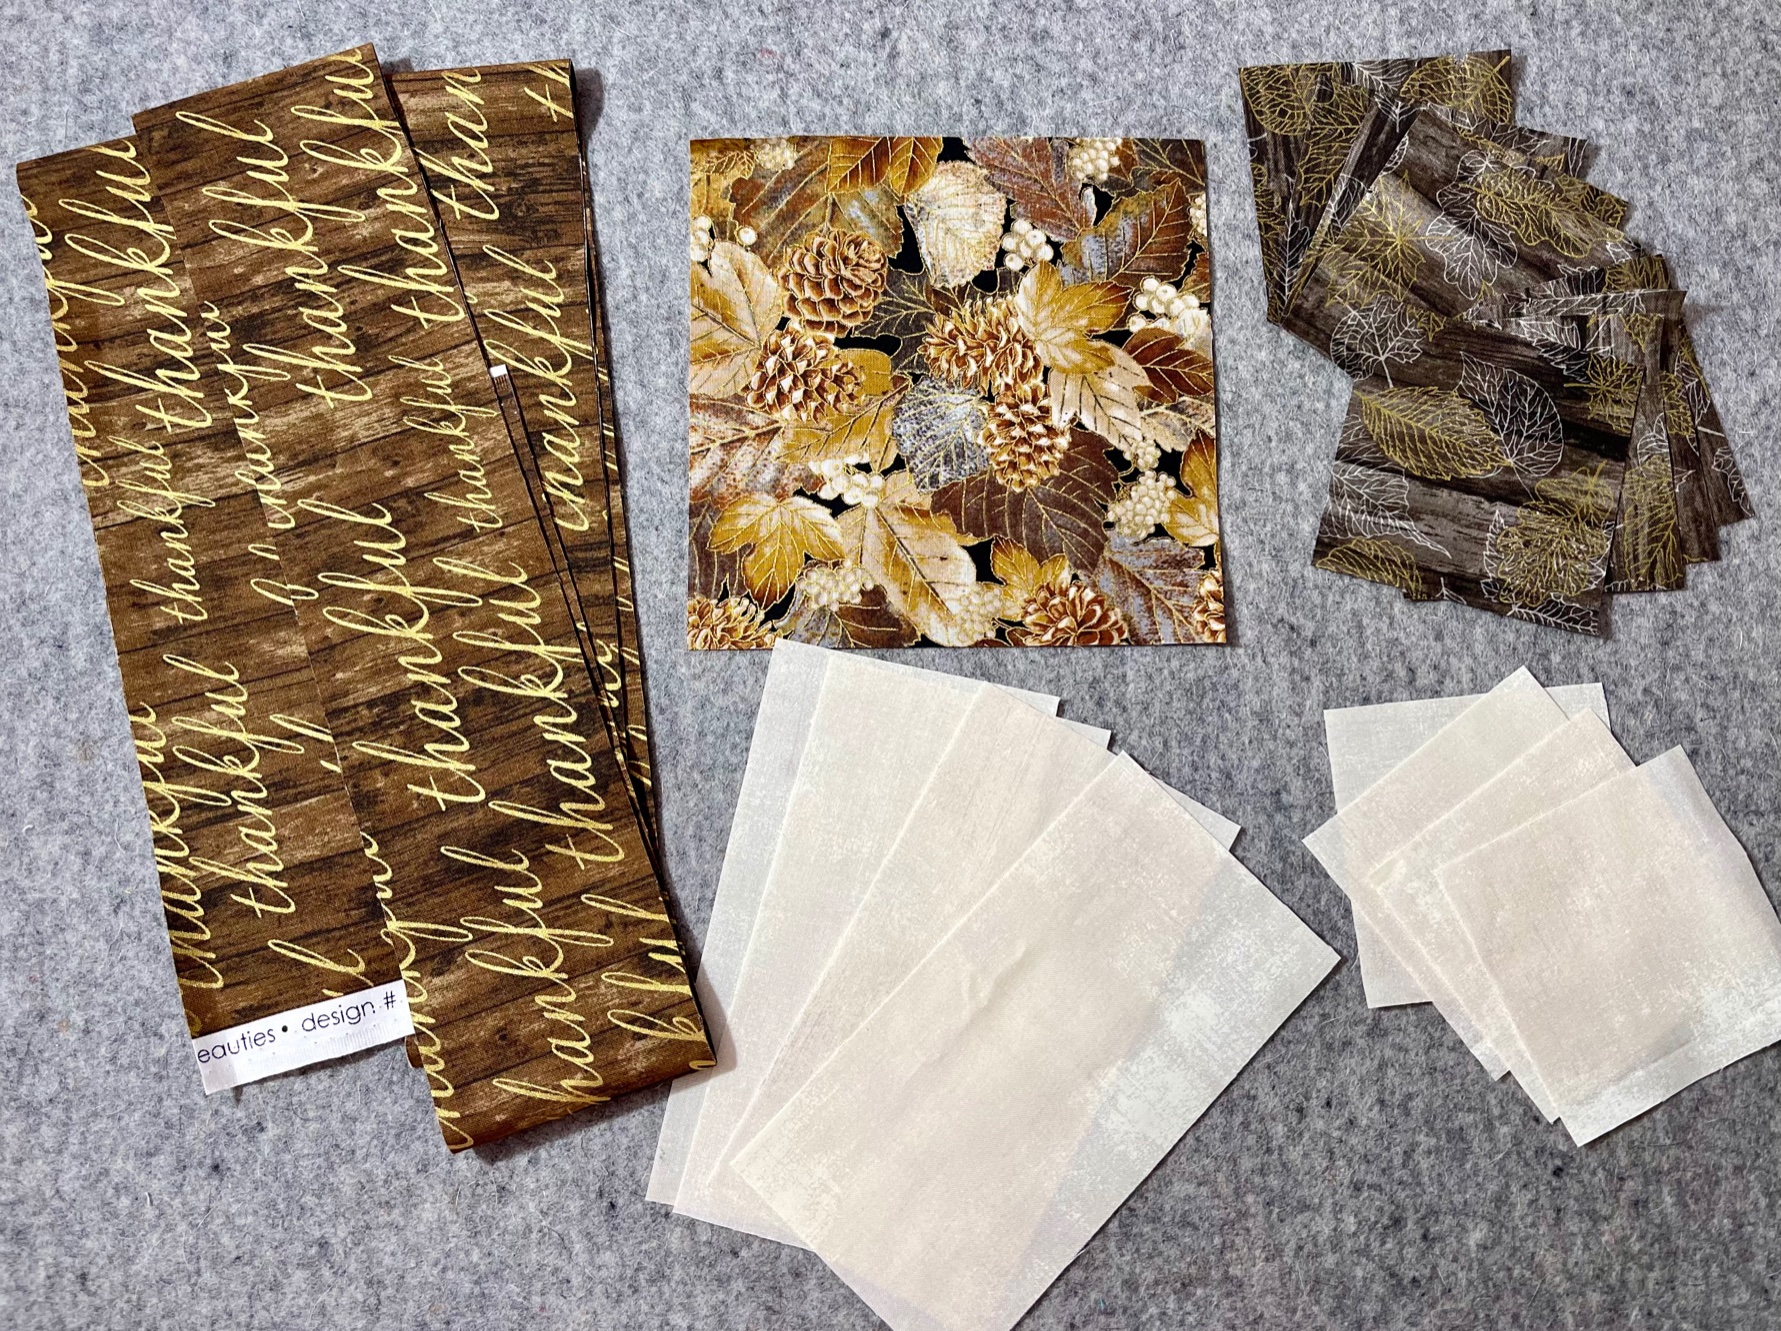
Supplies needed:
Focus Fabric – (1) 6.5” square
Background Fabric – (4) 6.5” x 3.5” rectangles and (4) 3.5” squares
Star Points – (8) 3.5” x 3.5” squares
Border Fabric (can be same as Focus Fabric) – (4) 3” x 12” rectangles and (4) 3” x 16” rectangles
Backing Fabric – (1) 20” x 20” square
Batting – (1) 20” x 20” square
Binding – None if you birth the quilt; or ¼ yard
Now it is time to start sewing by making a sawtooth star.
Assemble Four Flying Geese Units
Fold star point squares in half diagonally (or draw a diagonal line on wrong side of fabric)
Place a star points square on the left side of a background fabric rectangle with right sides together (RST)
Sew along the drawn diagonal line or fold. Then trim a ¼ inch from the seam and press the star point to set the seam.
Place another star point square on the right side of a background fabric rectangle with RST.
Sew along the drawn diagonal line or fold. Trim a ¼” from the seam and press the star point to set the seam.
Square flying geese units to 6.5” x 3.5”

Assemble Sawtooth Star Block
Sew a flying geese unit to the 6.5” focus fabric square with the star points away from the focus fabric with a 1/4” seam and RST
Sew a flying geese unit to the opposite side of the 6.5” focus fabric square with the star points away from the focus fabric with a 1/4” seam and RST
Sew a 3.5” background fabric square to each short side of the remaining flying geese units.
Sew the three rows together to form your star.
Add Borders
Sew a 12” border strip to each side of the square with a ¼” seam and RST.
Press to set the seam.
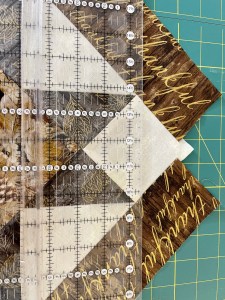
Trim on 45 degree angle per black lines below, being careful not to trim star points.
Sew a 16” border strip to each side cut side of the table topper with a ¼” seam and RST. Press to set the seam. Trim excess fabric.
Finish Your Table Topper
Sandwich the table topper, quilt and bind per your favorite method. Birthing the topper is acceptable.
An easy way to quilt it is to start in a corner of the focus fabric and stitch in the ditch around the square, then continue to stitch in the ditch along the star points. I personally always birth them.

To birth your quilt, lay your batting down first.
Then, lay your backing on top with the right side up. I usually use a backing fabric from another season to have the table topper be even more useful.
Then, place your table topper block on top of the backing, right sides together.
You will stitch around the entire perimeter of the table topper, using a 1/4 inch seam, leaving open approximately 3 inches to turn it inside out. I mark my area to start and stop sewing with double pins.
Trim your table toper, turn the inside out and then press well.
At that point you can topstitch a 1/4 inch from the outer edge to keep the topper flat and simulate the binding. This will also close the hole you used to turn it.
From that point you can quilt as desired, as simply or complex as you’d like.
Once you make one they will take around 60 minutes to crank out!
Thanks for reading I hope you enjoy making a table topper for yourself. If you do, send me a photo at erin@cottoncandyfabrics or post it online with the hashtag #cottoncandyfabrics. I’d love to see what you come up with!

[…] “Falling Leaves” is a Free Autumn Quilted Table Topper Pattern designed by Katie of ChooChoo Skadoo Quilts from The Ribbon Retreat!“Sixty-Minute” is a Free Autumn Quilted Table Topper Pattern designed by Erin from Cotton Ca… […]